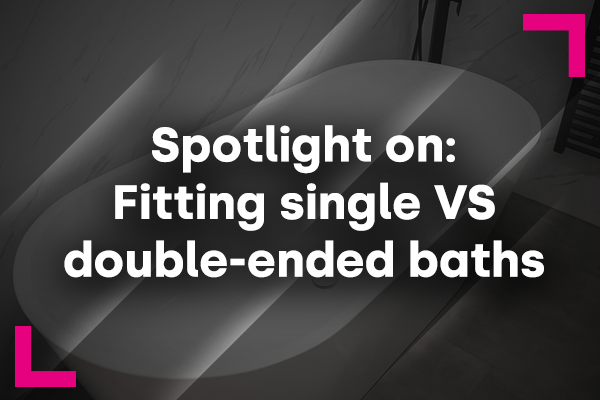
Spotlight on: Fitting single vs double-ended baths
If your customers are getting a bath fitted, then you might be required to install anything from a single-ended bath to a freestanding double-ended style. It’s therefore important to know the features of the different types of baths available, as they each require slightly different installation.
The first thing to establish, however, is what differentiates single and double-ended baths.
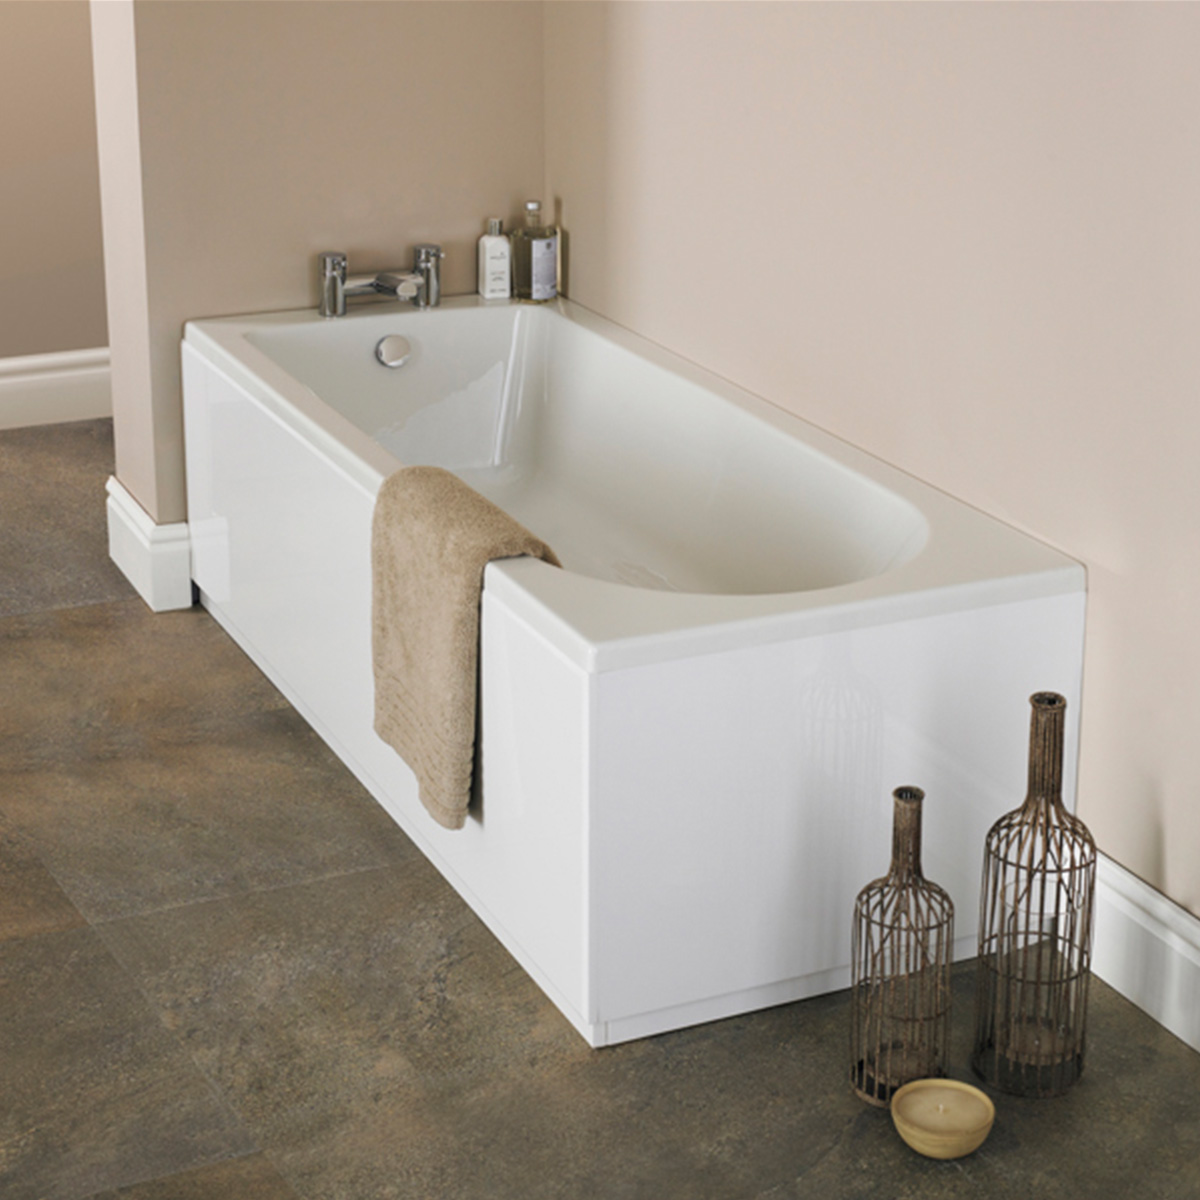
Baths like the Barmby Single-ended Bath are good if you have less space in your bathroom.
What is a single-ended bath?
As the name suggests, single-ended baths have one end for sitting, while the opposite end is where the taps are fitted and the waste and overflow are found.
Benefits of single-ended baths:
- Good if you need to save space.
- Are generally more cost-effective than double-ended baths.
- They give the option of having a shower-bath combi.
- Not as deep as freestanding baths, so safer for any young children using the tub.
What is a double-ended bath?
A double-ended bath gives you the option of sitting at either end of the tub, with slopes at both ends, so is ideal if you’d like that choice, or if you want to share the bath with another person. The waste and overflow are located at the centre of the bath, while the taps can be freestanding or fitted to the wall.
Benefits of double-ended baths:
- More spacious, usually deeper and longer.
- Sloping at both ends for flexibility.
- Can be more aesthetically pleasing with the symmetry of the double ends.
- Gives a luxury, spa look.
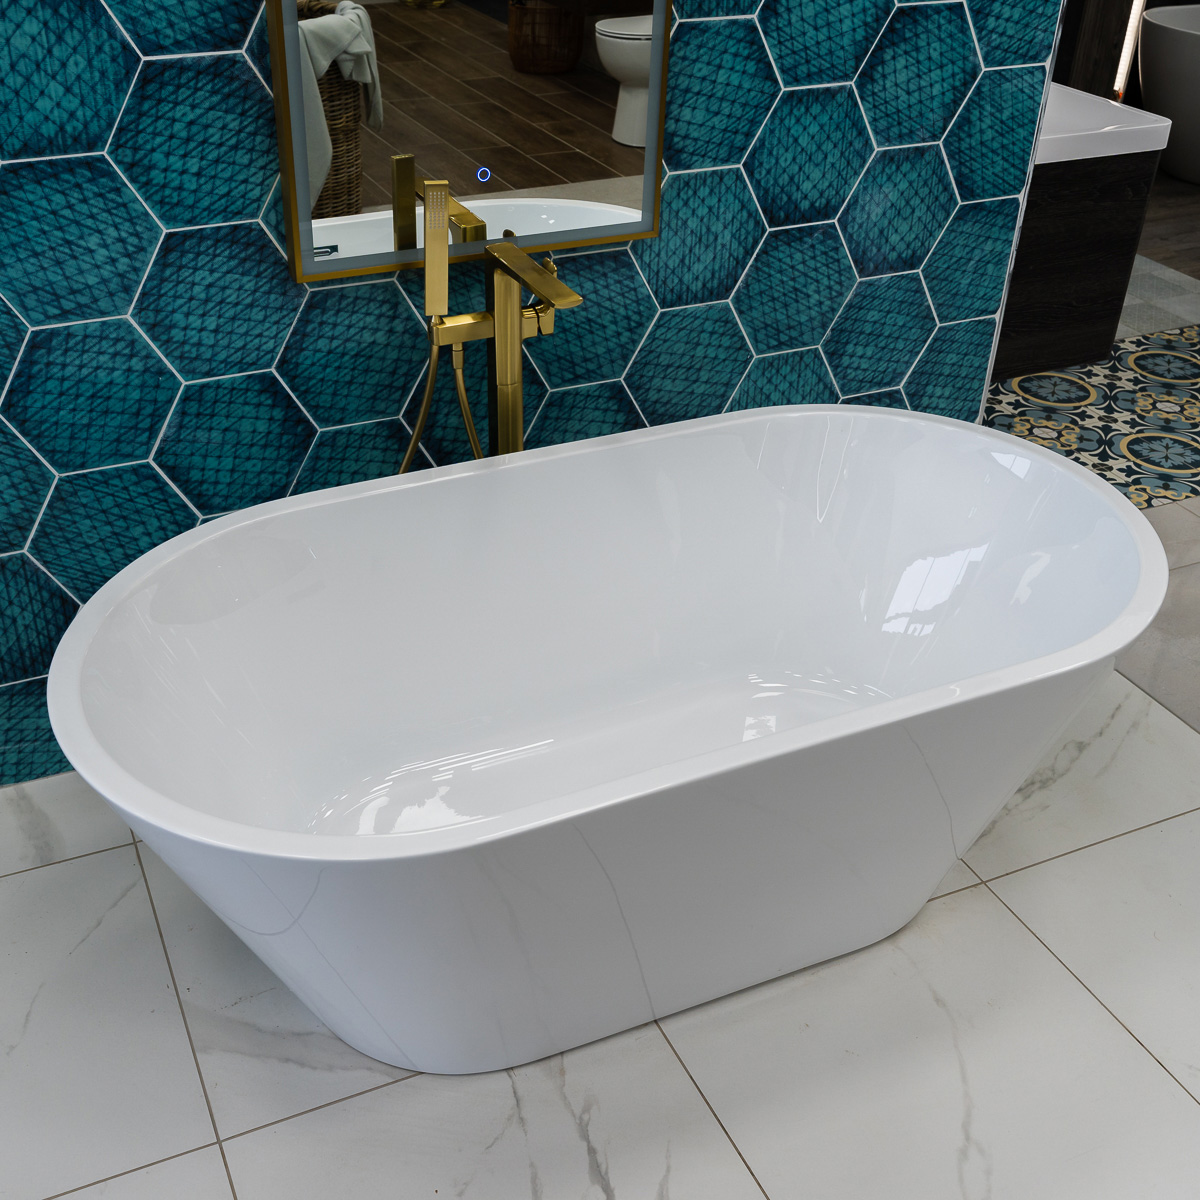
Double-ended baths are deeper and allow either end to be used, with the taps and waste located centrally.
Tools required for bath-fitting:
- Tape measure
- Spirit level
- Screwdriver
- Pencil
- Sealant gun and sealant
- Adjustable wrench
- Hack saw
- Electric drill
- Pipe cutter
- Protective goggles and gloves
You’ll also need the following:
- Wall brackets
- Waste
- Taps
Fitting single-ended baths
- Start by placing the bath on a flat surface and making sure you have everything you need to hand, checking you have all the screws and fittings that come with the bath.
- Remove all packaging from the bath and check that it isn’t damaged.
- Check the walls and installation area in relation to any electrical wires or plumbing before drilling.
- If the bath has legs and/or handles you can attach these now using the brackets supplied.
- Fit the central foot/leg and bracket, ensuring that everything is at a level height.
- Place the bath against the wall to check positioning and height. You can check the right height for the bath by measuring the panel and adding the bath rim height onto this. Mark the height on the wall with a pencil.
- Attach the wall brackets to the side of the bath.

Single-ended baths also give the option of installing a shower-bath combi.
- The next step is to drill the tapholes onto the bath and to fit the taps. (For more information on this visit our How to drill tapholes for baths blog).
- The bath waste should be fitted next, using silicone sealant with the washer supplied, followed by the overflow.
- Place the bath against the wall, securing the wall brackets placed previously along its side. You can use the spirit level to double-check the height of the bath and make sure that all is level.
- Mark out the position of the bath legs on the floor before drilling the holes for the feet and wall brackets.
- Apply some silicone just underneath the pencil mark on the wall, signifying where the top of the bath will be and then secure the bath to the wall and floor.
- Plumb the bath: The waste pipe should be connected, along with the bath trap, with the taps then connected to the water supply using flexible pipes. NB Be careful not to overtighten these. The water supply can then be turned on to check that everything is working and to make sure there are no leaks.
- Fit the bath panel: Use the spirit level to check positioning of the panel and mark this out on the floor with a pencil, outlining it on the floor to create a guideline, again checking for pipes and electric cables before attaching the battens.
- Fit the bath panel according to the manufacturer’s instructions.
- Seal the bath: Use silicone sealant to create a waterproof seal around the bath, applying this in the join between the bath and wall.
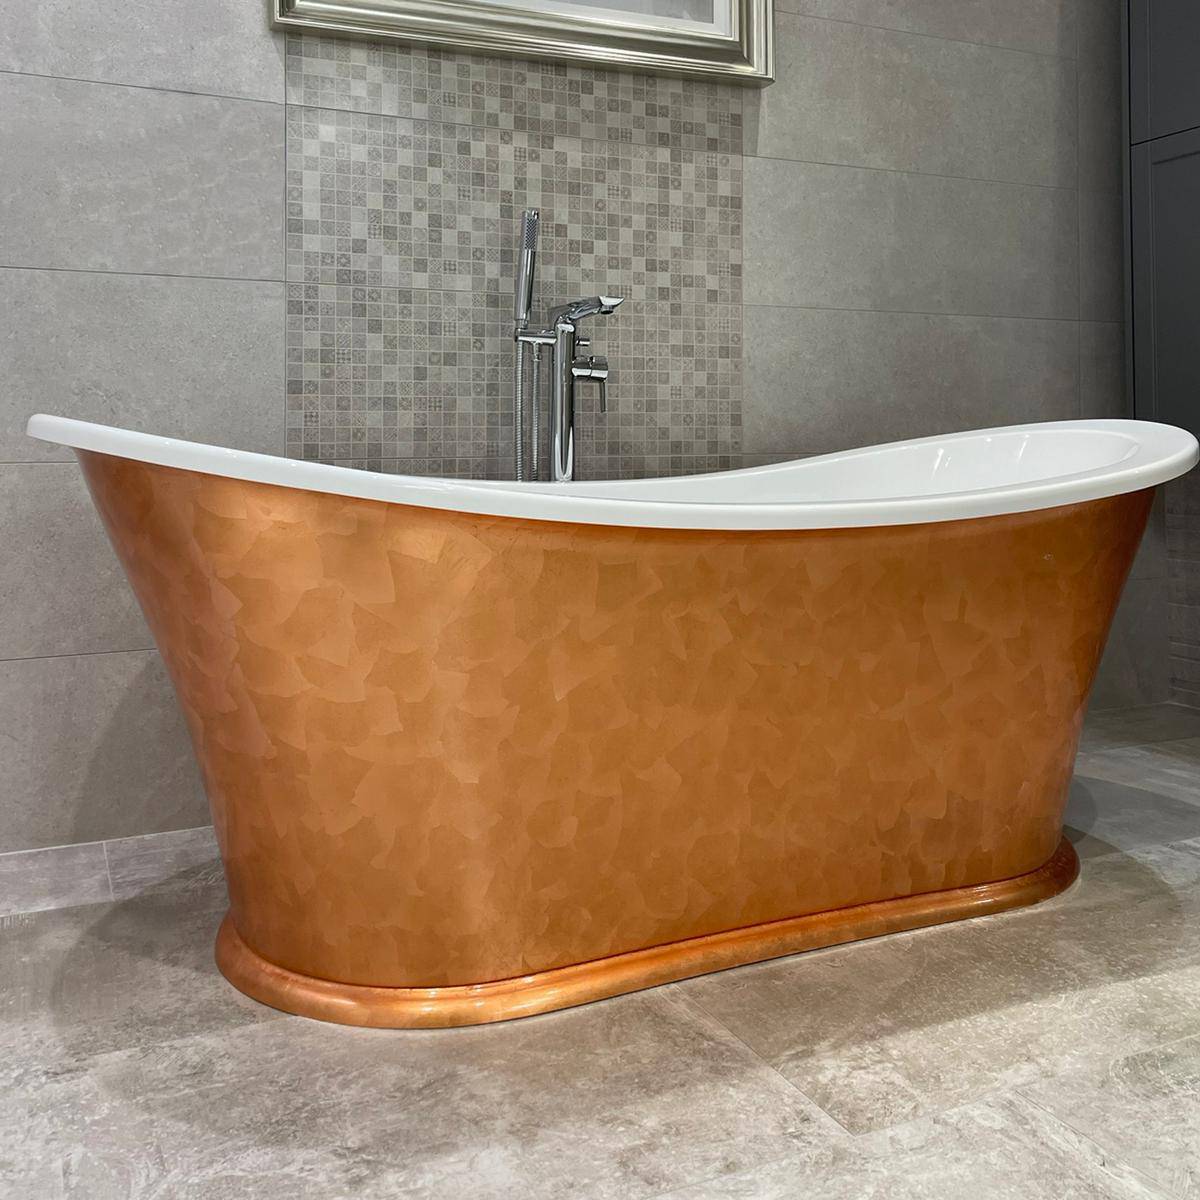
Double-ended baths can have freestanding taps, as above, or wall-mounted.
Fitting double-ended baths
When it comes to fitting double-ended baths, there are some key differences during the installation process. While many customers might be put off them, thinking they’re more difficult to fit, this isn’t really the case at all, if you know what you’re doing.
- As with a single-ended bath, firstly, remove all packaging and then fit the feet, checking the bath height with a tape measure before screwing everything in to place tightly.
NB It’s useful to raise the bath using timber at this point, to make it easier to connect the plumbing later.
- Next up, drill the tapholes and fit the taps and waste. If freestanding taps are being used, then you will need to mark out the location of these on the floor before drilling the holes for the associated pipes. The floorboards will also need to be lifted to install the pipes, which will then have to be capped off and tested to ensure there are no leaks before re-laying the flooring and fitting the bath.
NB Fitting wall-mounted taps will require marking out the position of the taps on the wall and then drilling the holes for these, before securing the taps in place. A stud wall can be useful here, although a solid wall is also suitable.
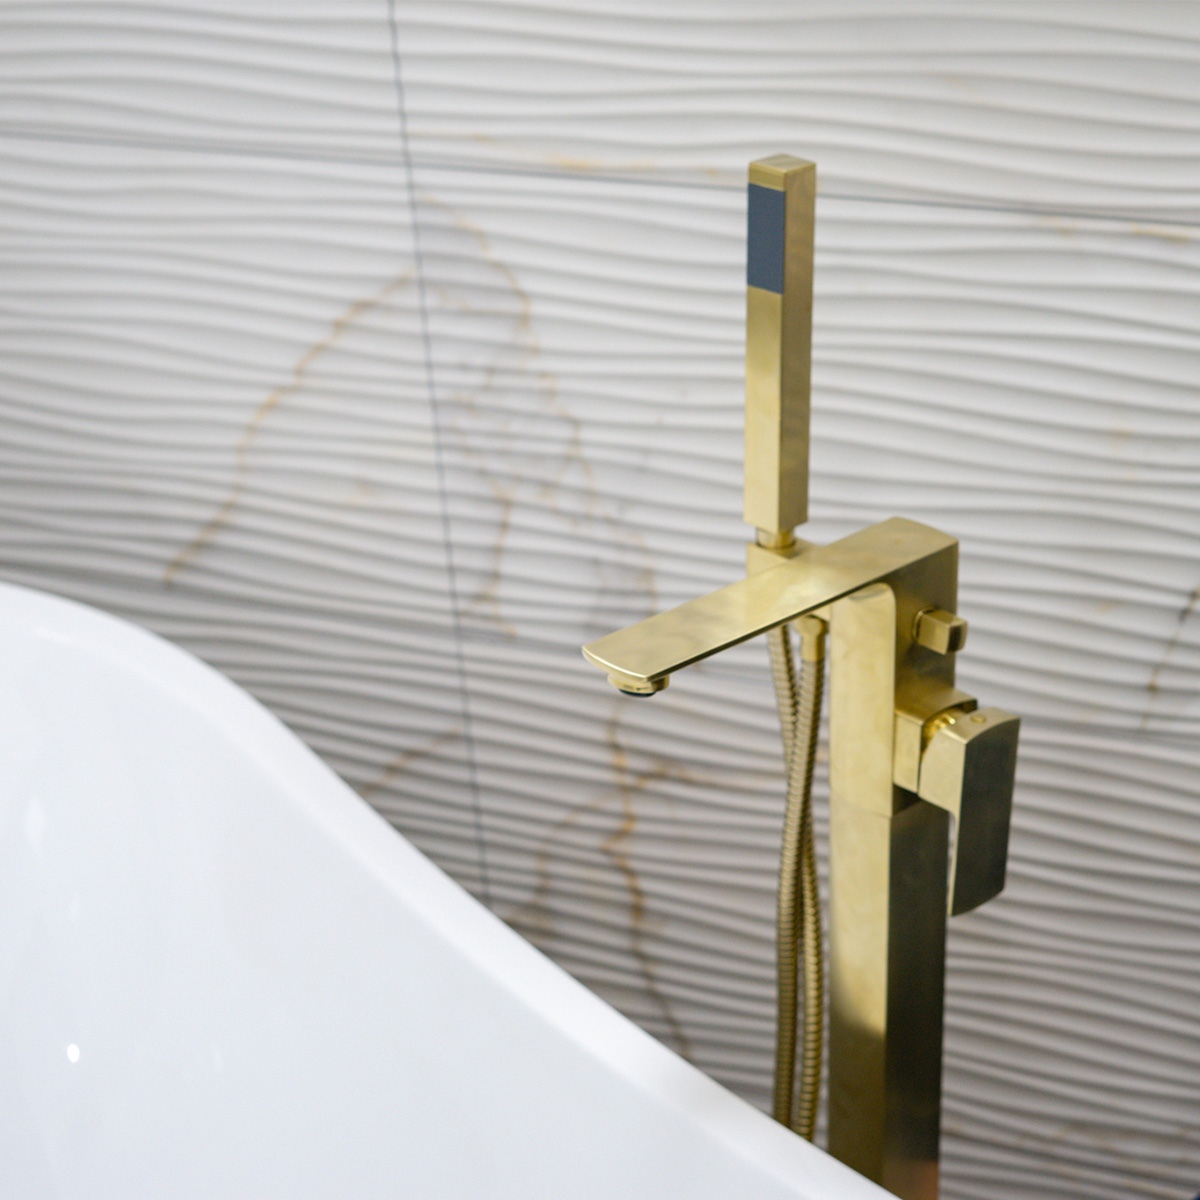
Freestanding taps are often used with floorstanding double-ended baths.
- The plumbing can then be connected, with the pipework and taps fitted together as you would with a single-ended bath. The freestanding tap stand can then be secured to the floor if this style is being used. You should follow the instructions for the specific taps being fitted, in relation to the pipe centres and amount of copper piping which is left exposed above the floor.
NB The bath should be positioned at least 50mm away from the nearest wall, to allow for movement of the bath while getting in and out of it. - The bath waste should then be fitted and connected to the floor, with holes drilled for this.
- The timber supporting the bath can now be removed and the bath positioned into the correct place (the plumbing will need to be disconnected for this and then reconnected again).
- Check everything is properly sealed and fitted before securing any claw feet the bath might have to the floor (if it’s flush to the floor then this is obviously unnecessary).
- Apply a silicone bead around the join between the bath panel and floor to make sure that it’s secure.

Shop a range of single and double-ended baths at Bathshack.
Shop our double and single-ended baths
At Bathshack, we have a wide range of both single and double-ended baths, including shower-bath combis and luxurious freestanding baths – both flush-to-floor and with claw feet options.
Whether your customers are looking for something for a smaller bathroom and would like a simple single-ended tub, or have more space and would like to make a feature of a larger freestanding bath, there’s plenty of great choice. We also supply various bath accessories, such as bath screens, panels, wastes and taps – all at great-value prices for our trade customers.
For more information about our single and double-ended baths, just email our team at info@bathshack.com or call (028) 9077 0188.