Tips for New Tradesmen: How to tile a bathroom floor

Introducing our ‘Tips for New Tradesmen’ blogs …
Introducing our blogs for new tradesmen, this latest series of articles will profile key topics of interest for those just starting out in the industry – a handy resource, should you need to check up on any key points.
First up is tiling a bathroom floor. This might be a relatively straightforward jobs but, like everything, there’s a sequence of steps to follow, so it’s always good to double-check you have the right tools – and the knowledge fresh in your head – before you begin.
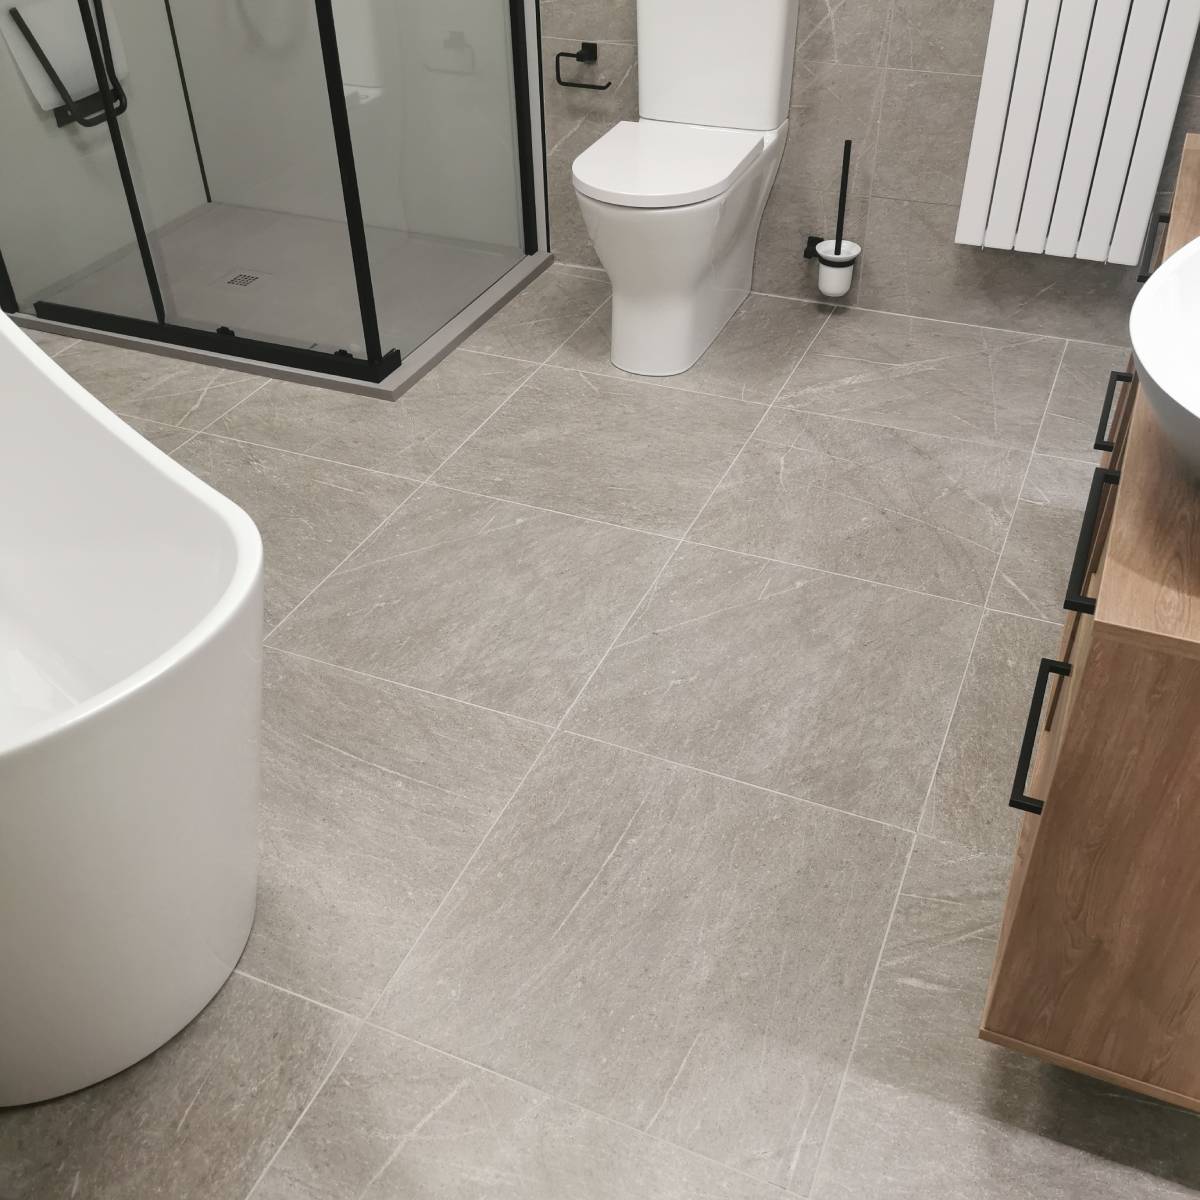
Using large format tiles for bathroom floors will create the illusion of more space.
Before you begin tiling
There are a few things you’ll need to check before you actually reach the laying of tiles phase, the first being measuring your space accurately and deciding what tiles you’re going to use. Your customer may already have chosen these but if not, then you might be asked to advise on tile types and so on.
Large format tiles will be easier to lay as their large size means you won’t need as many. There are also fewer grout lines to worry about as a result, so they’re less stress all-round. These are great for small and large bathrooms alike and they create the illusion of more space, so are a win-win.
NB Our handy Tile Calculator will help you work out how many tiles you’ll need for your project.
What do you need to tile a floor?
Aside from the obvious – tiles – you’ll need a few other items to get your customer’s lovely new floor on the ground and ready for use. These include:
- Adhesive
- Sealant
- Sealant gun
- Grout
- Tile underlay
- Tape measure
- Pencil (chinagraph pencils are great for marking out tiles)
- Spirit Level
- An adhesive trowel
- A notched trowel
- Tiles and tile spacers
- Tile cutter
- Tile nipper
- Goggle and gloves
- Grout mixing paddle (and bucket)
- Rubber mallets
Top Tip!
Make sure you tile the walls first, so you don’t risk damaging the floor tiles with falling equipment, tiles, or materials.
NB You can purchase a range of tile tools and accessories from Bathshack or Tileshack, should you need them.
Tiling your floor step-by-step
1. Measure the floor: To begin your tiling, first measure how wide the floor is and then mark out the centre point with your pencil. Work out from here with the positioning of your tiles, but don’t stick them down yet.
NB It’s always best to begin from the middle of the floor and work your way out to the corners. Also – don’t forget to place tile spacers between the tiles, to give room for grouting and to gauge how many tiles you’ll need.
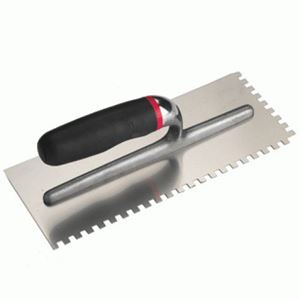
A stainless steel notched trowel for spreading adhesive.
2. Apply the adhesive: Using your adhesive trowel, place adhesive on the floor and then spread this evenly with your notched trowel, using the smooth edge to spread it and the notched or toothed edge to form ridges. Always put adhesive on a smaller area of floor – about 1m² so it doesn’t start drying out before you lay all the tiles.
NB The above instructions assume that the floor already has a secure underlay installed on top of the subfloor. The adhesive then goes on top of the underlay.
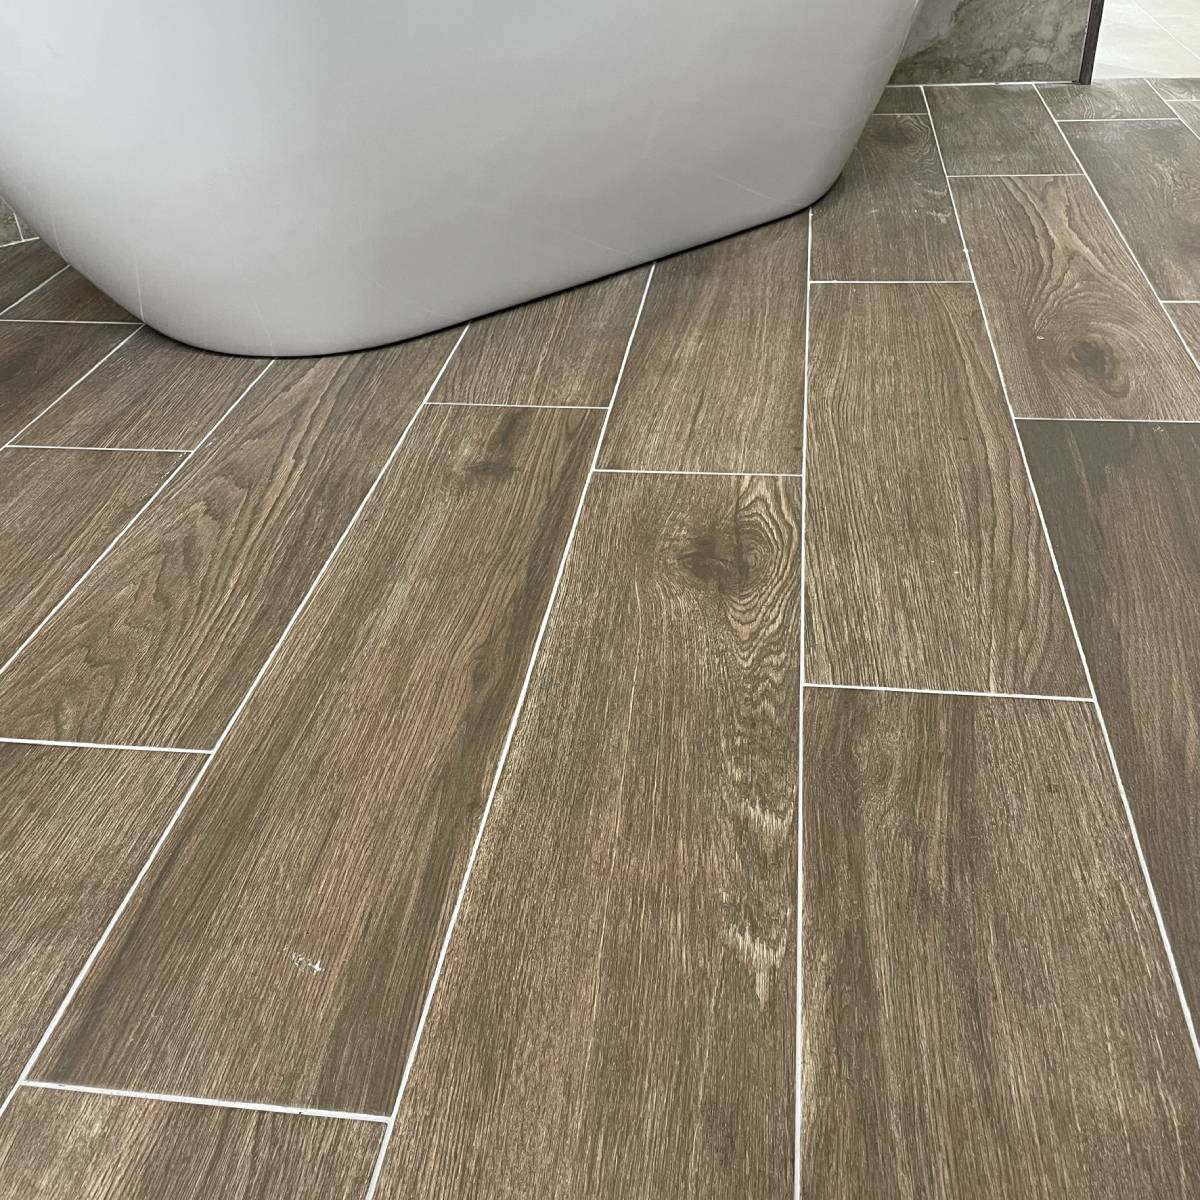
The Alberto Cedarwood Wood-effect Floor Tile in Ceramic.
3. Laying your tiles: The next step is actually laying your tiles, pressing them firmly onto the adhesive and remembering to place tile spacers in between to keep ensure room for grout and to keep them positioned correctly.
During the laying process it’s always good to check from time-to-time that the tiles are being laid flat, so you can use your spirit level to do this and then tap the tiles with the rubber mallet if they need levelled. It’s also important to remember to wipe any excess adhesive from the tiles with a damp sponge or cloth as you go along, as you won’t be able to do this once it dries. NB It’s always best to remove the tile spacers once the tiles are laid straight and level, so they don’t stick in the adhesive.
4. Cutting tiles to fit around obstructions: It’s very likely that you’ll have to cut tiles to fit around pipes, baths, pedestal basins and/or showers, so for more information on preparing tiles for laying and tiling around obstacles, refer to our blogs: How to cut tiles and How to tile around fittings.
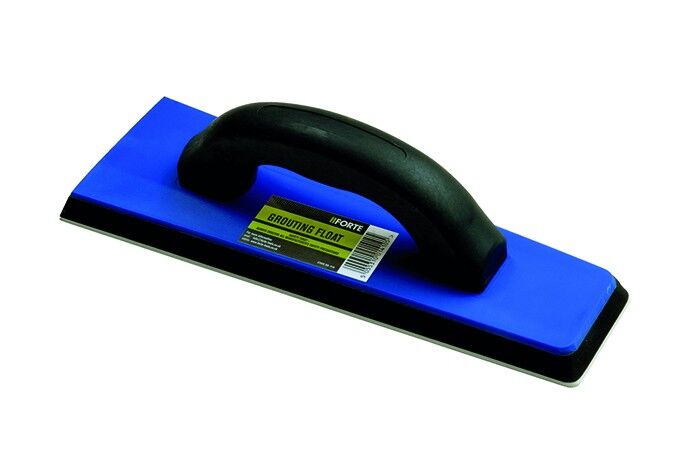
Forte professional floor grouter in black rubber.
5. Grouting the tiles: Once the tiles have been laid and the adhesive has dried (this takes at least 24 hours but can be up to 48 hours), you can begin grouting. Before grouting you’ll need to check what type of grout is suitable for the tiles, depending on their size and thickness – and the water-to-grout mixing ratio. Once you’ve worked this out, you can then mix the grouting in a bucket and lay it between the tiles.
Make sure you fill the lines between the tile with sufficient grout and that you smooth this down level with the surface of the tiles to ensure a smooth and even floor. If you used flat spacers which are meant to remain between the tiles, then don’t forget to grout over these.
Again, it’s good practice to wipe down the tiles with a damp cloth as you go along to remove any grout before it hardens. How long it takes to dry will depend on the grout you used, so just check this and then leave for the required time.
6. Seal the tiles: Once grouting is completed you can then seal the tiles. Using a sealant gun for accuracy, seal between the tiles and the wall – and, also, around the base of any fixed bathroom furniture, such as toilets or pedestal basins. This will need around 24 hours to dry and then … your work is done and your customer’s bathroom ready to use!
Floor tiles for every bathroom
No matter what sort of tiles your customer is looking for, we have a great range of large format and other tiles available at Bathshack and Tileshack, along with adhesive and grouting for added convenience. We’re also happy to advise on every aspect of the tile purchasing process and can recommend trending tiles as well as popular styles within each showroom.
From gloss and matt finish to natural stone-effect, wood and marble-effect, we have an inspired variety of high-quality tiles that will suit all sorts of projects.
Find a wide range of high-quality tiles at Bathshack. For more information email our team at info@bathshack.com or give us a call on (028) 9077 0188.


