Tips for New Tradesmen: Fitting concealed shower valves
When it comes to showers, many people prefer the minimalist look, so concealed shower valves continue to be popular choices with many customers. With this in mind, we’ve subsequently dedicated the following blog to how to go about fitting them, as the process can be a bit trickier than fitting exposed valves. Read to the end to find out the key steps required.
Tools you’ll need:
- Concealed shower valves
- Spirit level
- Spanner
- Wrench
- Plasterboard
- Timber/metal studs
- Silicon
- Drill
Step-by-step guide to fitting concealed shower valves
Step one: Turn off the water supply
The first thing you need to do is locate the stop valve in your customer’s home water system and shut off the water supply, flushing it out before beginning work.
Step two: Complete measurements for a false/stud wall
In order to conceal the shower valves, you’ll need to create a false wall to hide them, so this will need to be measured out before fitting. To do this, you’ll first need to remove the existing shower valve, if one is in place and then strip back the wall behind it, down to the brick. Once this is done you can measure out the false/stud wall. You’ll also need to allocate the position of the hot and cold-water supplies, along with the concealed mixer valve and the showerhead pipe.
Step three: Route the plumbing
Next, place the hot and cold pipework along the wall, which will feed into the mixer valve and run through the master-board to the control panel. You’ll also need to fit T-junctions if the hot and cold pipes from the shower will be required as a route to the bath and sink – certainly, if the piping installed previously didn’t have these. Ensure that the copper tails and pipes are secured by passing them through the backboard of the stud wall.
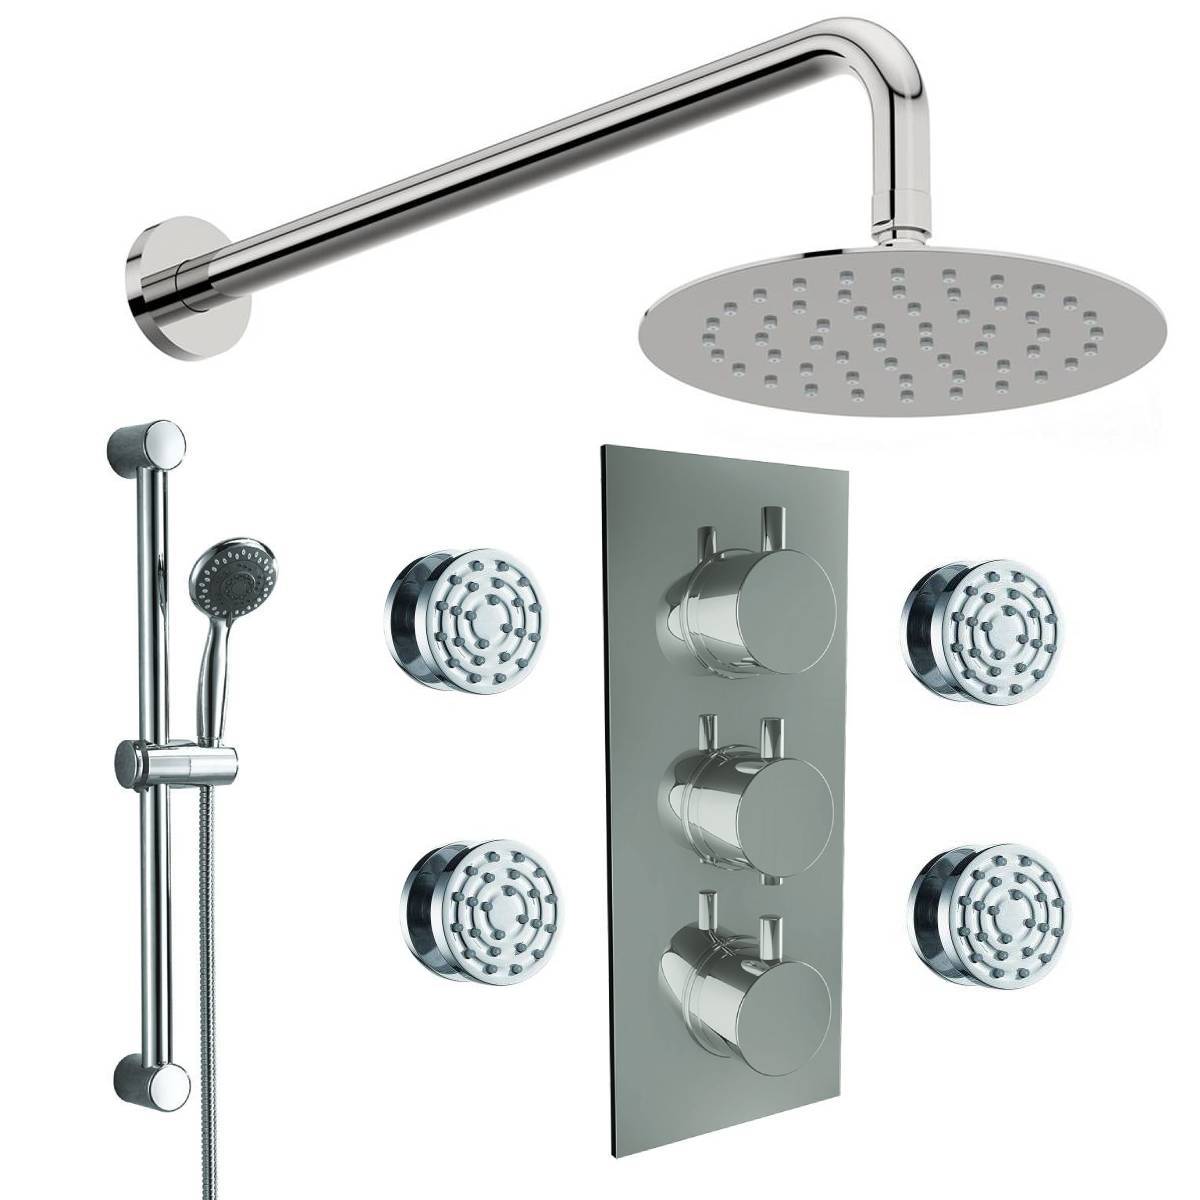
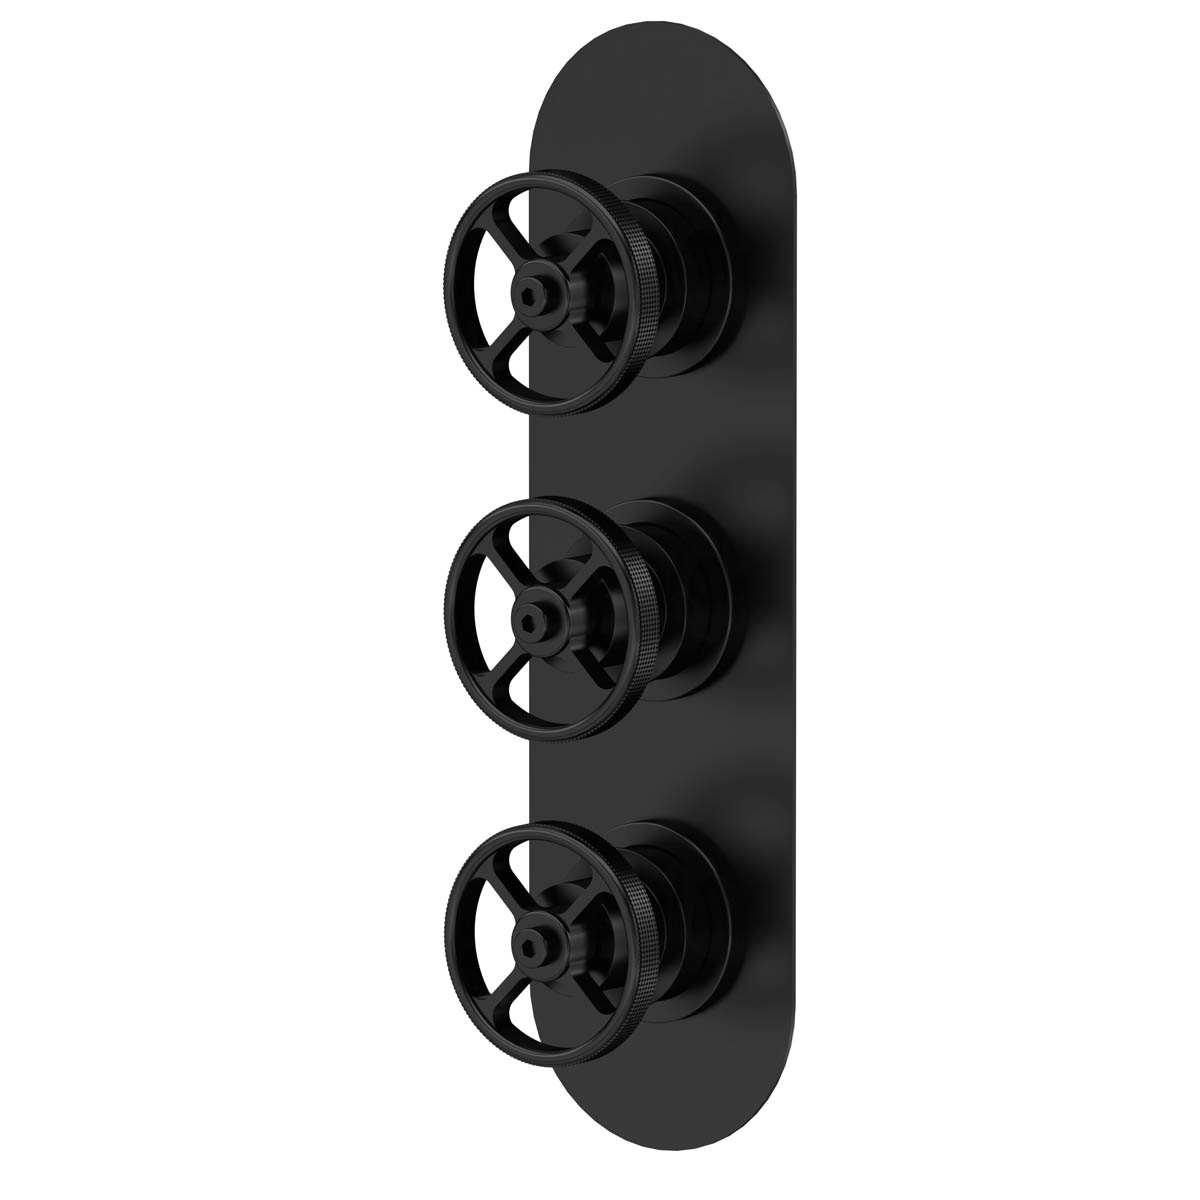
Tradeshack’s concealed shower kits are available in various styles and finishes.
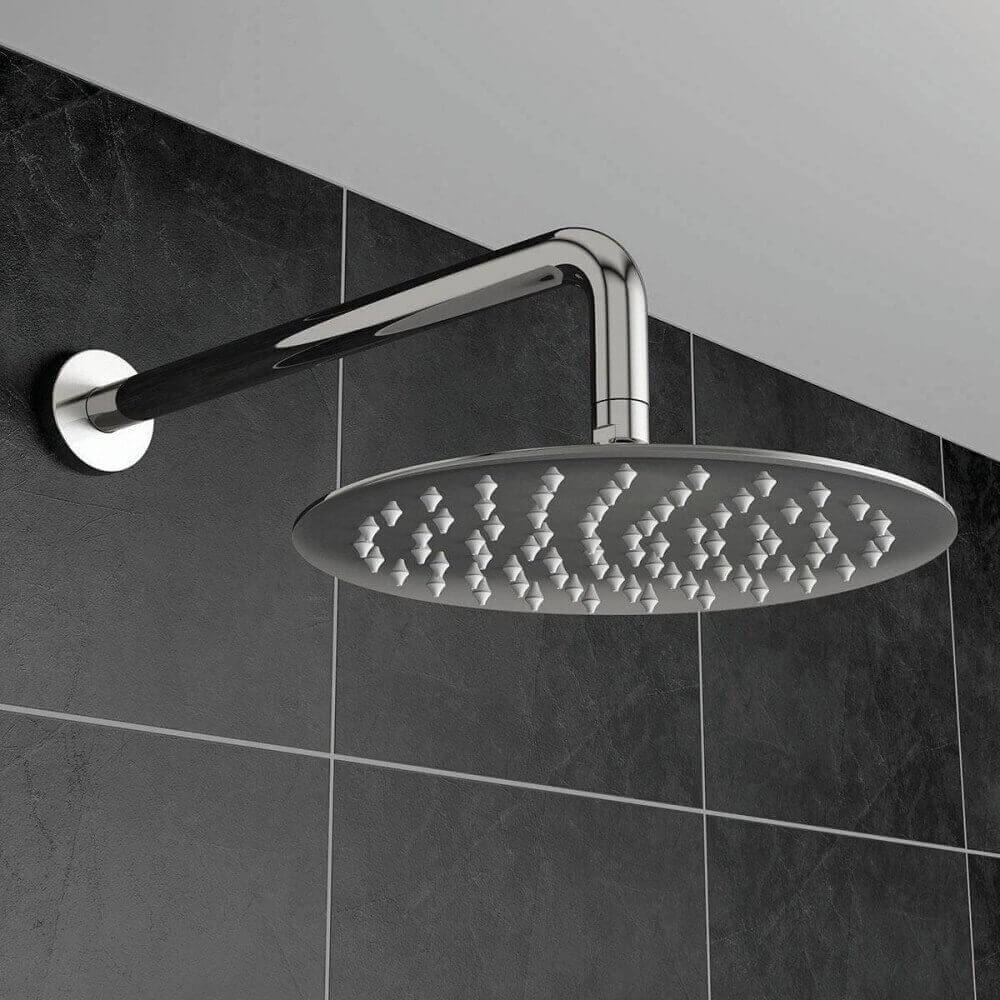
Making sure all pipework is secure will prevent issues with the shower later on.
Step four: Check pipework is secure and stable
It’s important to ensure that the pipework is fully secure before installing the stud wall, so check this thoroughly to prevent rattling sounds and issues further down the line. Fitting pipe clamps will make them hold fast, while tightening everything and using any supplied mounting brackets will also ensure stability.
Step five: Fit the false/plasterboard wall
Once you’re satisfied that everything is fitted correctly you can then fit the stud wall. Using materials that are suitable for the humidity of bathrooms – such as green moisture plasterboard – will ensure the best job, although extra waterproofing will help even more. The plasterboard will need to be drilled to allow for the pipework and showerhead.
Step six: Install the concealed valves
The final step is to cover the plasterboard, with tiles being a great choice – and there are lots of options when it comes to bathroom tiling. Porcelain and ceramic tiles are best for bathrooms and are available in a wide range of styles and colour palettes. Again, these will need to be drilled for the pipework and showerhead. You can then fit the concealed shower valves, once the tiles are in place and grouted.
With the shower valves fitted, you can then turn the water back on and test that everything is working as it should.
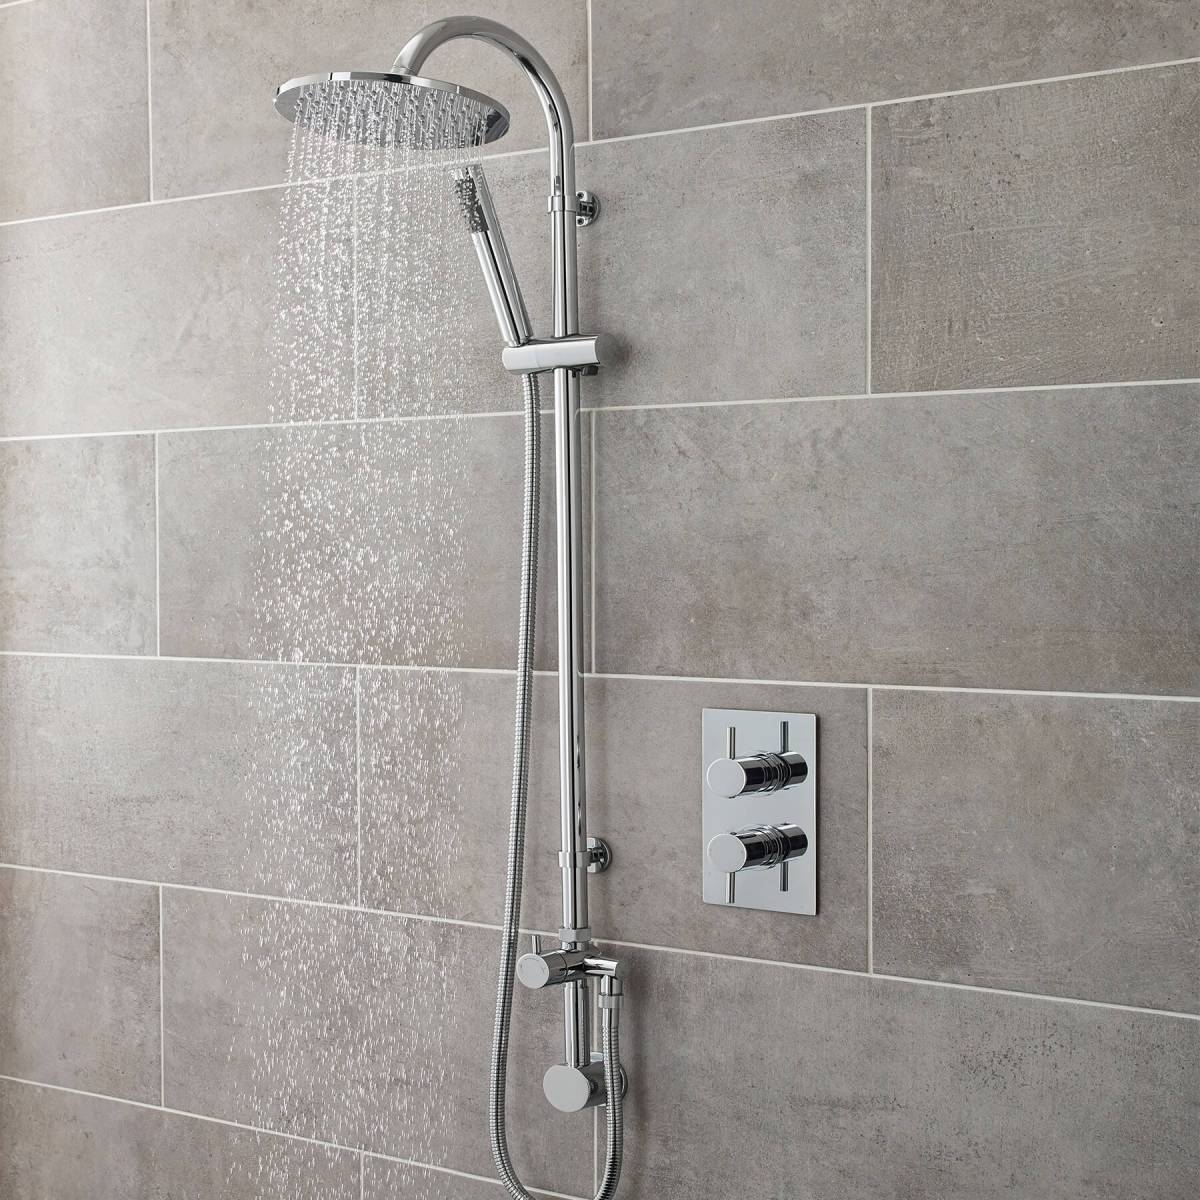
Once the stud wall is in place and the concealed shower valves fitted, you can turn the water back on.
Find concealed shower valves at Tradeshack
If you’re fitting showers for your customers and need concealed shower valves or related items, then you can get everything you need at Tradeshack – and for great-value trade prices. We supply a wide range of showers and valves, including accessories like shower pumps, seats, rails and more.
Contact Tradeshack for all your trade bathroom needs. Alternatively, email our team at info@bathshack.com or give us a call on (028) 9077 0188.

